At the previous Photokina HARMAN already presented their new direct positive papers (DIRECT POSITIV PAPER FB and RC). As the name inherently tells, positive images can be created directly, for example by exposing the paper through a pinhole camera. And that is exactly what we did.
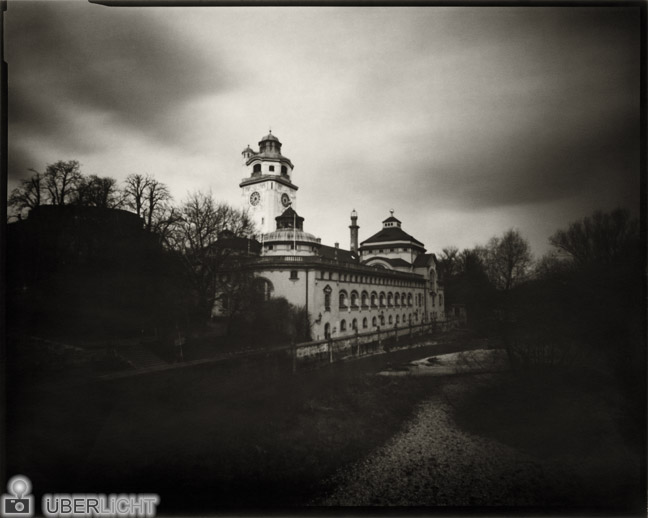
Müllersches Volksbad in Munich (2012), on HARMAN Direct Positive Paper FB – © Überlicht
Preparation
Unlike film material the paper – which is available in various formats from 4×5” up to 50”x50ft-rolls – can even be loaded in safelight. This might prove very useful if you have difficulties feeling out the difference between the paper base and photographic emulsion at the first attempt because, as opposed to sheet film, the paper does not have any notches. When loading sheet film holders with HARMAN DIRECT POSITIVE PAPER FB (baryta) we noticed that the sheets were intractable to slide smoothly into every film holder, probably due to the thickness of the paper sheets compared to considerably thinner film sheets. In this case you could either just use holders that can be loaded without resistance or carefully cut off 0,02” on one long side (using a ruler and a sharp cutter) in the darkroom. Either way, you should avoid to squeeze the paper sheets into the film holders as that damages the edges unaesthetically.
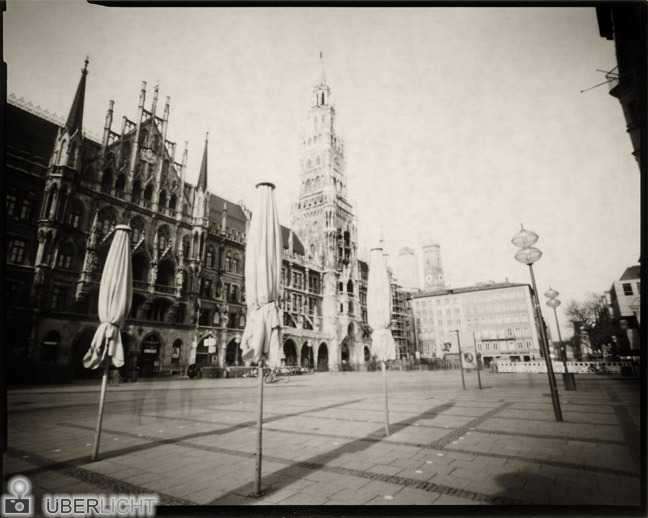
Marienplatz in Munich (2012), on HARMAN Direct Positive Paper FB – © Überlicht
Photographing
Apart from high contrasts according to the paper’s low sensitivity there is nothing else to pay particular attention to. Even though the dramatic contrast can be softened by pre-flashing the paper (which also affects sensitivity), we did without for a start and instead sought out subjects that work well with a hard gradation, too. Again, we deployed the HARMAN TiTAN Pinhole Camera in order to bring the paper to its appropriate use (and vice versa). As the paper is especially designed for long exposure times it is practically ignorant of reciprocity failures. Nevertheless, we added it to our long exposure compensation charts (PDF), so as to have the right data at hand immediately when taking pictures through a pinhole. Alternatively, the recommended exposure times from the description can be used for various lighting conditions. That also works quite well.
Once exposed, the paper sheets should be processed as soon as possible (within one or two days) because the latent images regress very quickly. Pre-flashing also requires handling without delay, otherwise it will lose its effect on the paper with time. However, the fast regression of latent images can also be of advantage. When accidentally exposing a paper sheet, some weeks (maybe months) in complete darkness should eliminate the mistake.

Residenzstraße, Munich (2012), on HARMAN Direct Positive Paper FB – © Überlicht
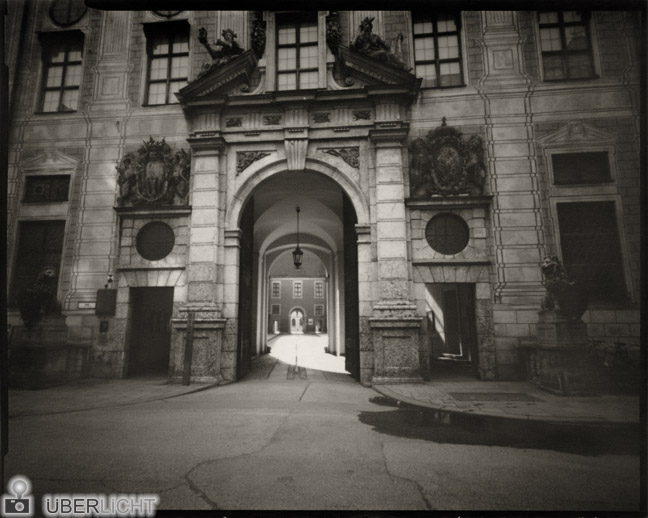
Residenz in Munich (2012),on HARMAN Direct Positive Paper FB – © Überlicht
Development in Caffenol
We developed our exposures in Caffenol as that slightly reduces the contrast. You can find many recipes online for making a developer of basic household remedies (washing soda, vitamin C and instant coffee). While mixing in the last ingredient the unmistakable scent of this homemade developer fills the air: Caffenol somehow smells like aging moist food for cats. This takes some getting used to it but luckily the smell does not stick to the paper after the development. The colour of Caffenol is rather unfamiliar, too. Whereas customary developers are translucent, washing soda and coffee granules taint the mixture very cloudy and dark. Yet, in the darkroom the dull broth is a good indication of the development time: As long as the dark image areas are still brighter than Caffenol, the image contains no proper black.
The development in Caffenol, which takes about 2.5 – 3 minutes at 20° C / 68° F, is followed by a short stop bath (approximately 10 – 30 seconds) and fixing afterwards (1 – 8 minutes depending on the fixer). At last the FB-paper spends one hour in (ideally fresh running) water. After this the remaining water on the photographs can be removed carefully using a film squeegee or drying roller.
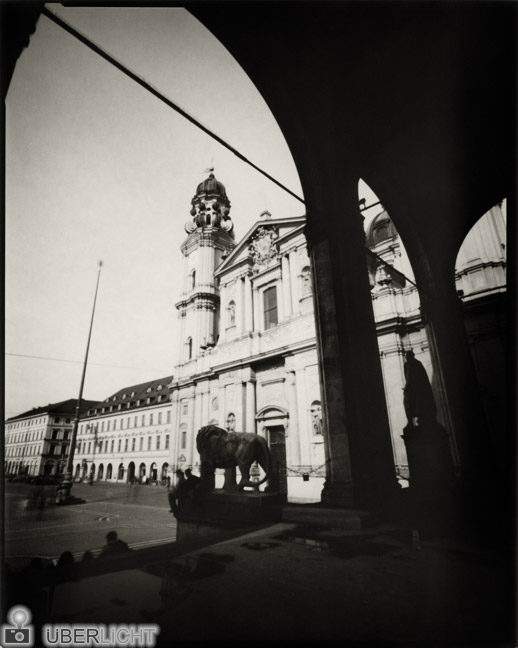
Feldherrnhalle at Odeonsplatz, Munich (2012), on HARMAN Direct Positive Paper FB – © Überlicht
Drying
Although the DIRECT POSITIVE PAPER FB can be dried back-to-back, a baryta print drying press like in the good old days is still the first and probably most elegant choice to prevent wavy photographs. Besides, blotter paper along with some heavy books can also be used for waveless drying.
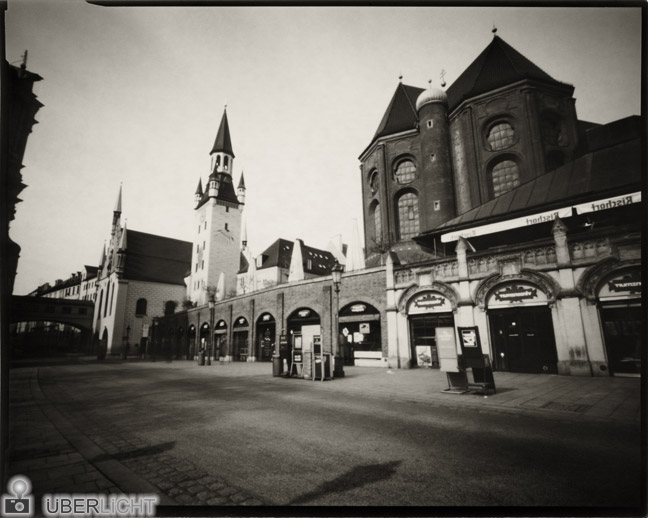
Old Town Hall and Alter Peter (Church of St. Peter) in Munich (2012), on HARMAN Direct Positive Paper FB – © Überlicht
Nostalgia
Not only the colour impression of Caffenol-developed images, also the look and feel of the baryta paper prompt wondrously nostalgic feelings. Furthermore, every picture exposed directly in the camera is unique and the laterally reversed orientation is reminiscent of bygone times.
Possibilities
There are obviously many other (more experimental) possibilities apart from exposing the DIRECT POSITIVE PAPER by means of a camera obscura. Some of them are explained within the technical information fact sheet. As the first test exposures have not completely satisfied our curiosity, we might refer to the paper once again (when we find time) in the future.
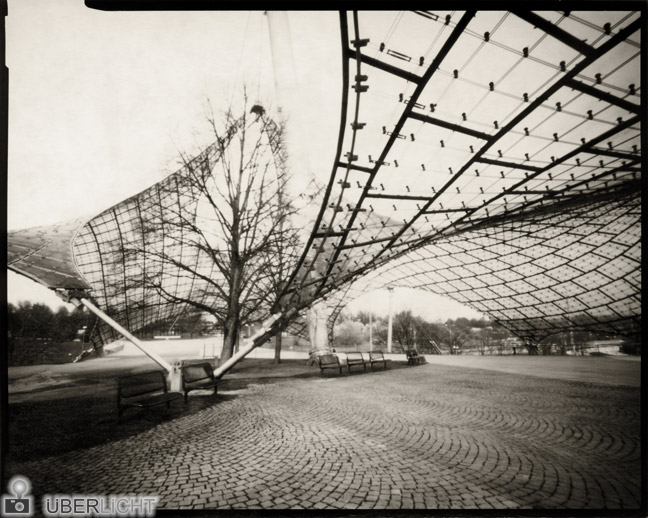
Munich Olympic stadium (2012), on HARMAN Direct Positive Paper FB – © Überlicht
The original German post has been published on Überlicht.de August 29th 2012.
posted September 15th 2012 by Marina Biederbick
categories: analogue, photography, review, tutorials
7 comments »
